This week has seriously flown by! I was so tempted to include 12 looks this week, but decided to stick to my guns and go with my favorite 10 looks. I absolutely adore Nichole of Vanilla Extract‘s look, and as always, Julia of Gal Meets Glam. Which is your favorite look? I am so ready for it to feel like fall again in Texas!
Lastly, I’ve shown pictures of my sister’s gorgeous house as part of my Dream Home series. Karine and her husband, Carl, were featured this week on Culture Map for their amazing home. Click here to read the article and here for the video. My whole family loves a good renovation. My parent’s home in Durango (where we stayed this summer) was recently featured here on Houzz. And lastly, Sasha and I are talking about doing another home extension project. My fingers are tightly crossed! See some photos from our first one here.
Happy Friday! Do you have big plans for the weekend?
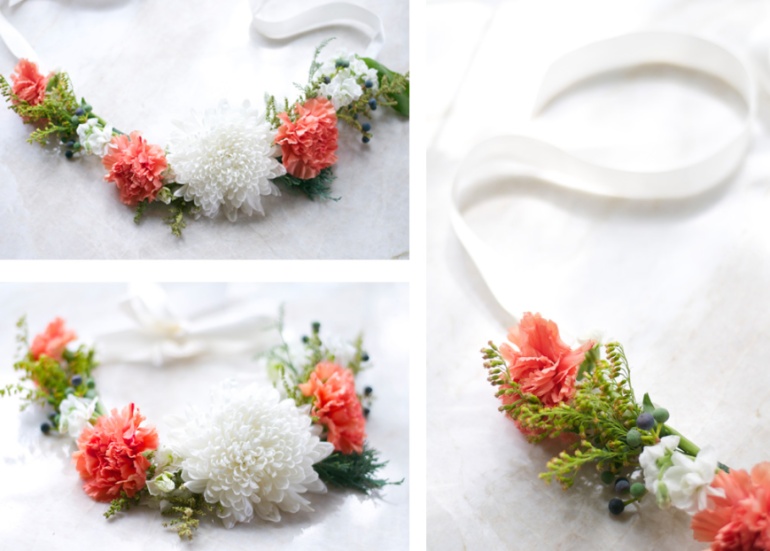
I seriously, seriously love floral crowns. They are perfect for weddings, wedding showers, maternity shoots, baby showers, newborn photos or just because! I have made suggestions on outfits with which you can style a beautiful floral crown at the bottom of this post.
Ever since I started my Floral Arranging 101 class, I’ve been motivated to create my own. I have read a number of DIYs (like this, this and this), and decided to give it a try! At first, I thought about doing a little one for Isla (she’s already worn this one in her newborn photos), but decided to do an adult-sized one and I’m so glad I did! I will admit that this DIY is perhaps not the most technical (as I use a hot glue gun, which would make many florists cringe!), but it works! Read the process below:
I went to the grocery store and picked up some cremones and carnations. Then I went to my front yard and cut down some foliage for fillers – you can also find these in the floral department of your local grocery store.
I cut all of the flowers so that they had 2-3 inch stems and then laid everything out on the island and placed it in the order I wanted for the crown.
I took an 18 gauge floral wire and bent one end about half an inch from the end and thread one of the carnations through – it is important to use a thick stem flower versus a piece of foliage at the end.
I then began to add the flowers and foliage by wrapping floral tape around the base and the floral gauge – laying the pieces along the length of the wire. When I got to a carnation or a cremone, I would take the wire through the stem of the flower versus the side layering technique.
Tip: As mentioned earlier, I also used a hot glue gun to secure some of the floral tape to the wire, and in some instances, to glue the bushy leaves to the wire.
When I finished filling the floral wire with flowers, I cut two pieces of cream ribbon 7 inches in length. Put a dot of hot glue on one end of each strand of ribbon and secure it to the end of the wire. Once the glue is dried, you can put it on your head and tie a bow at the back!
You can extend the life of your crown significantly by storing it in a drawer in your refrigerator. Mine lasted four days, then some of the flowers started to wither. Make sure you start the process with the freshest florals you can find.
Arrange all flowers in the order you’d like them on the crown, then thread them through the floral wire (steps 3-5 above)
Add the ribbon to the ends and tie, then voilà… a beautiful floral crown!
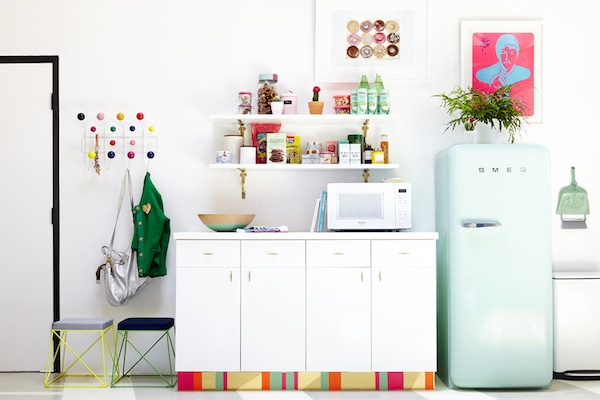
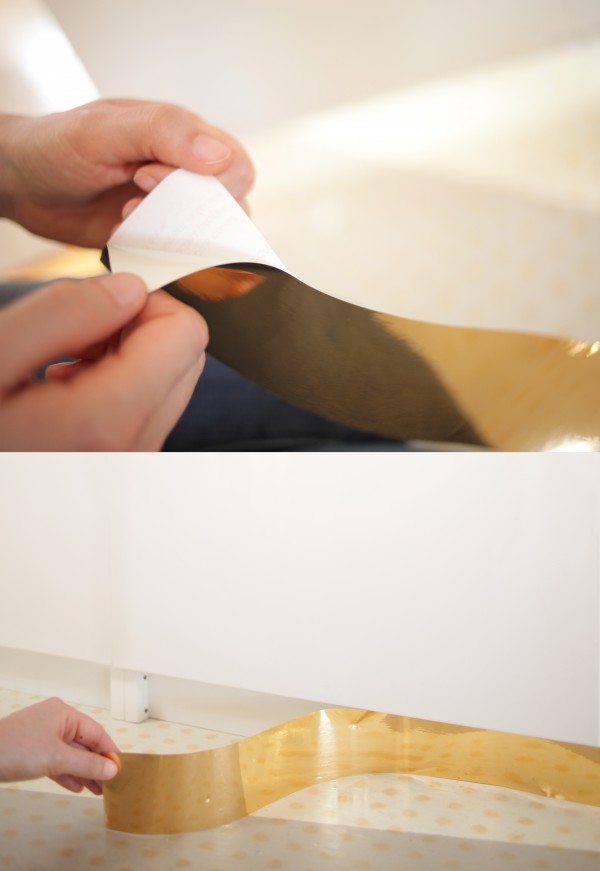
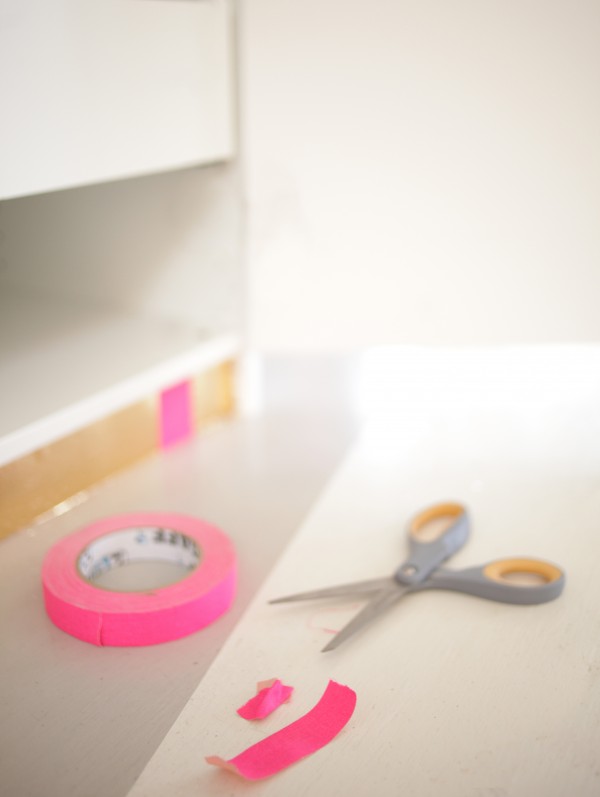
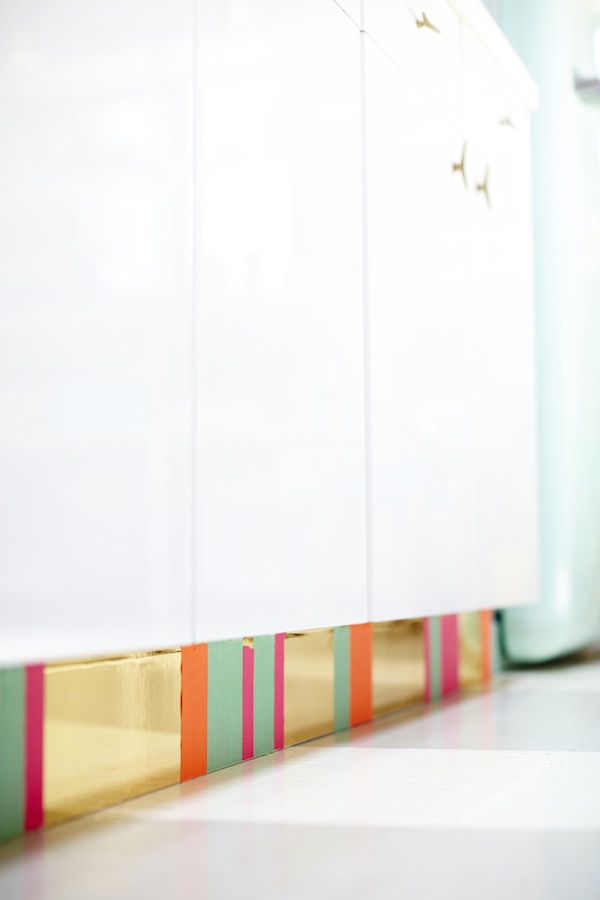
I love customizing IKEA pieces, because they are typically very affordable and come in standard colors, begging for some creativity. We added Anthropologie knobs to the IKEA dresser in Isla’s room – a simple touch to make it look a little fancier. When I came across Joy Cho’s (of Oh Joy) kitchen cabinets on Glitter Guide, I fell in love with the toekick. These cabinets are a DIY – and one of my favorites so far. They are the Pax Unit cabinets in white – the DIY steps are in the post here and shown in the photos below. Have you ever renovated or customized a piece of furniture?
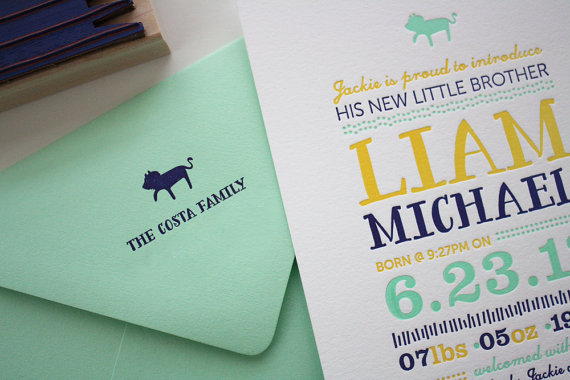
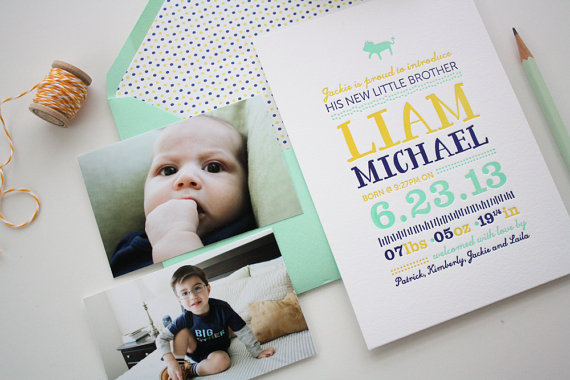
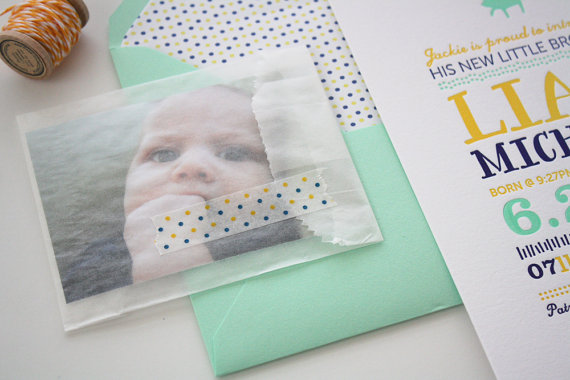
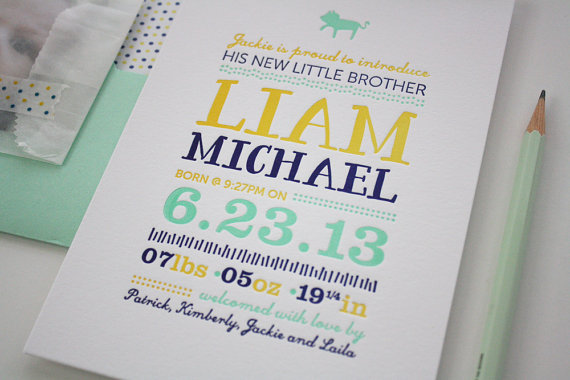
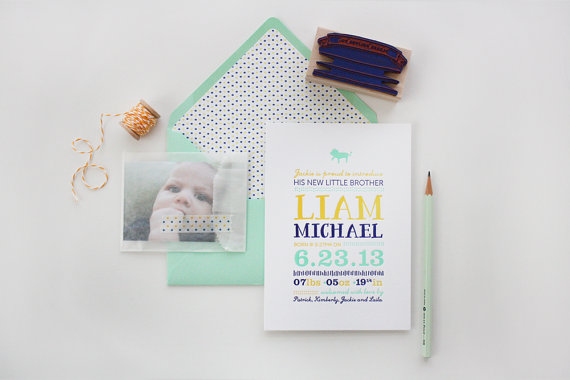
I am ever-s0-slightly obsessed with glassine birth announcements. When I saw these on Etsy, I could not get over how cute they were! I love the colors, liner, letterpress, and typography… but most of all, the glassine envelope with Liam’s sweet photo. I love the simplicity of glassine envelopes – and especially when they are sealed with colorful washi tape (good online selections here). Another cute example is here. Making your own glassine invitation or announcement can be simple! You can order envelopes here on Amazon. You can get a custom stamp made on Etsy or Antiquaria and easily print on them, or leave them blank and include them as an accessory to paper goods. Have you seen any cute glassine invitations or announcements before?
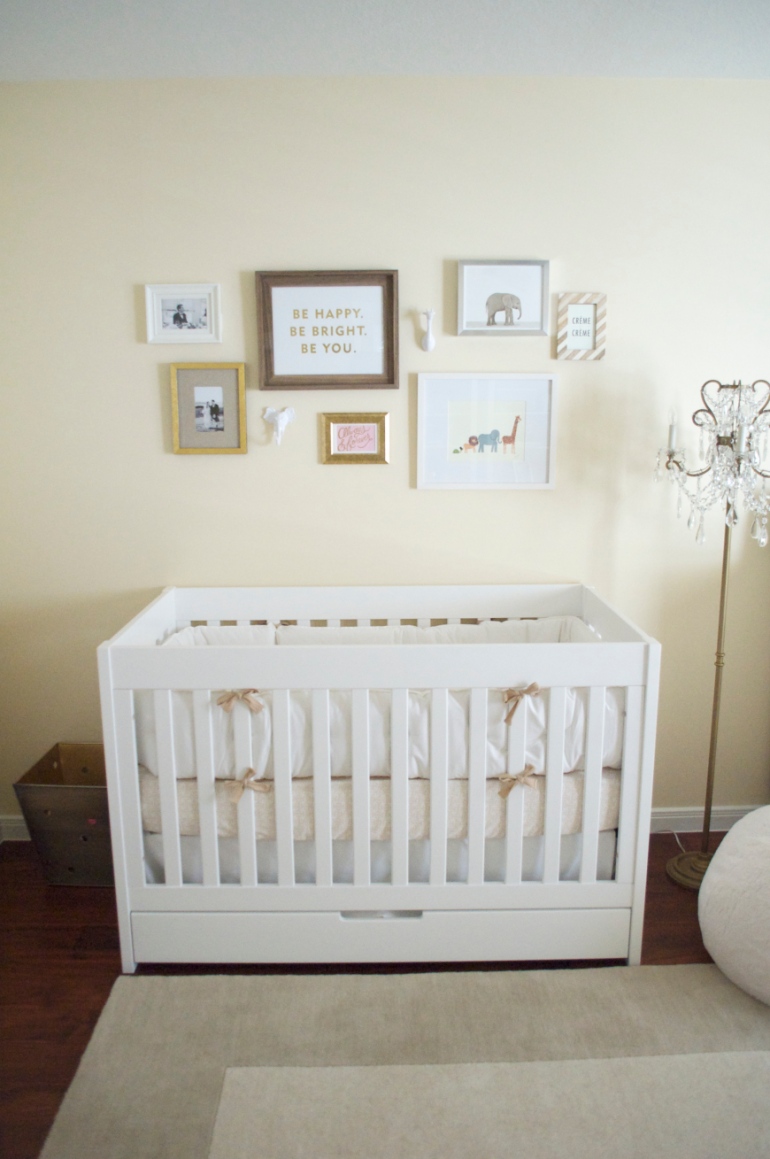
I absolutely love gallery walls – we now have them in three rooms of the house. I had been pining a few prints here and there for Isla’s room and recently pulled the trigger on all of them. I wanted to add some color to the very monochromatic room (lots of gold, cream beige, white), but didn’t want anything too bold. After buying the prints, I spent a few weeks scouring frames, then spent last Sunday cutting out kraft paper versions of the frames and arranging and rearranging them on the wall. The whole process takes quite awhile, but it’s totally worth it. I have some space on the left and right to expand the collection if desired!
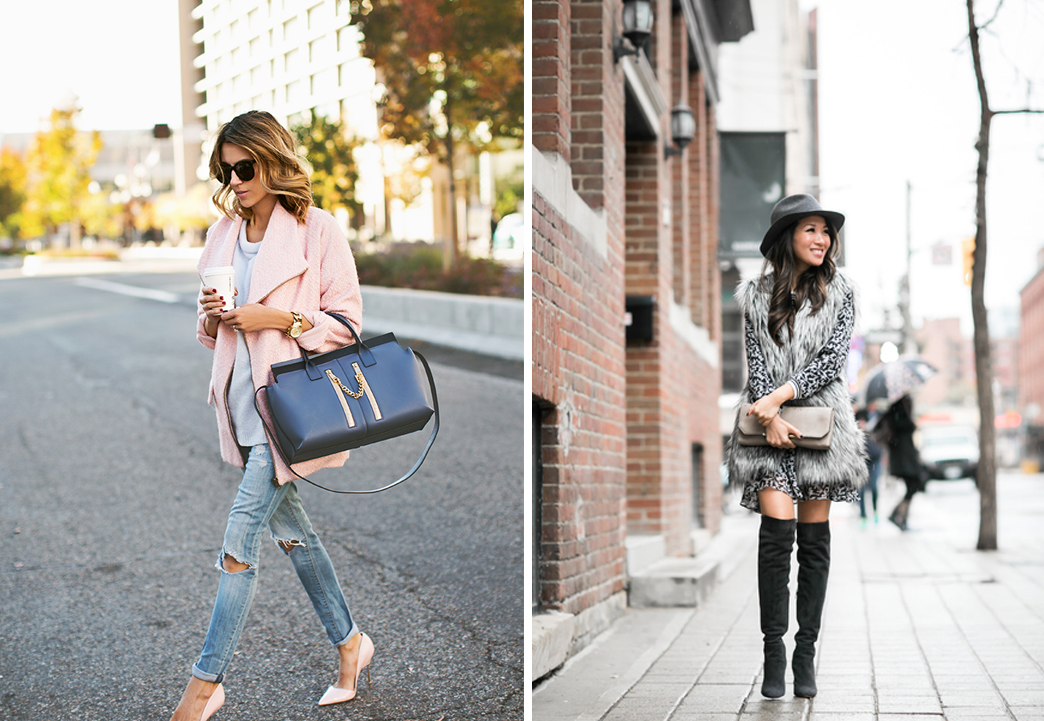
 1 Something Navy // 2 Sequins & Stripes
 3 Brooklyn Blonde // 4 Atlantic-Pacific


 I absolutely love gallery walls – we now have them in three rooms of the house. I had been pining a few prints here and there for Isla’s room and recently pulled the trigger on all of them. I wanted to add some color to the very monochromatic room (lots of gold, cream beige, white), but didn’t want anything too bold. After buying the prints, I spent a few weeks scouring frames, then spent last Sunday cutting out kraft paper versions of the frames and arranging and rearranging them on the wall. The whole process takes quite awhile, but it’s totally worth it. I have some space on the left and right to expand the collection if desired!
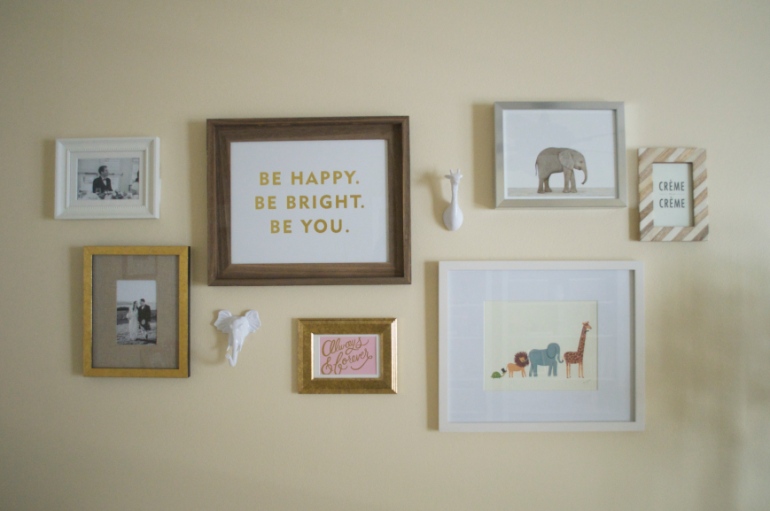