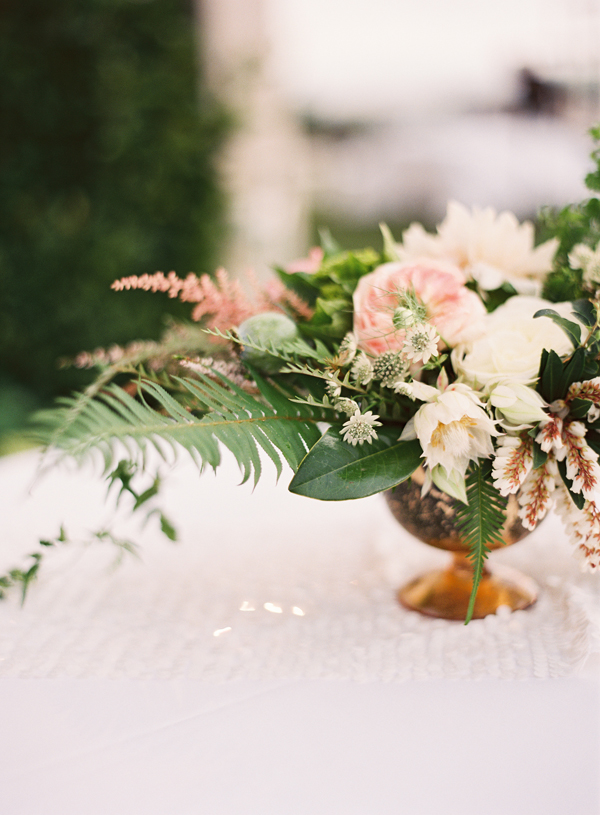
I think it would be impossible for me to envy Phuong Nguyen’s talents more than I already do. This post took me ages and ages to write, because every reference link she sent me, I gazed longingly at every detail of the photos. Phuong is the owner of Mibellarosa Designs, a design studio based in Houston, specializing in (exceptional beautiful!) event planning and floral designs. I first worked with Phuong on a Valentine’s shoot I did with Destiny, and the florals she created were unbelievable.
Shortly after that, I ordered an Omakase vase (translation: “I’ll leave it up to you” – Phuong’s selection!) for Caroline Knapp on her birthday (on her Instagram here), and I felt it was the perfect way to give someone (who has lots of gorgeous things already!) a thoughtful gift. I will definitely be ordering more for other friends’ birthdays. I can’t wait to work with Phuong again – hopefully soon!
You’ll quickly scroll through this post (before reading it in great detail, of course) and go googly-eyed over the florals she has created and her incredible styling She has the best taste (true story, I’ve had Police’s ‘Every Little Thing She Does is Magic’ stuck in my head the entire time I’ve worked on this post – not a coincidence!). So without further ado…
Next weekend, one of my good friends is getting married in New Orleans, and she has asked me to be in her house party (if you’re not familiar with this southern tradition, read this explanation here). Amanda asked all of the house party to wear blush pink dresses, which is also the bridesmaid dress color I chose for my wedding (photos here). Instead of lucking out and finding one dress early on that fit me like a glove, I tried on over twenty blush pink dresses from a number of different stores. I’ve had a hard time finding dresses that fit well recently, given my (ahem) milk-enhanced chest. After trying on some pretty pricey dresses, my friend, Taylor, sent me a link to a dress at Forever 21, and I actually really liked it. The best part was the price tag: $39? Yes, please. Given that I don’t normally wear light pink due to my insanely pale skin, I was a-okay with spending less than $40 on a dress. It’s currently getting altered, as they didn’t have my size, and I’m excited to get it back and try it on. I’m praying it fits well!
During my extensive research, I found some gorgeous blush pink dresses at J. Crew, BHLDN, Nordstrom, Asos, Forever 21 and Macy’s. While at the latter shop, the cashier asked me if I was looking for a bridesmaid dress, and I explained it was for the house party. She told me that blush pink is the most popular bridal party dress color, and that she constantly is helping women find dresses in this color. Et voila, here is my guide to help all of the ladies out there looking for a blush pink dress. If that’s not you, perhaps you think one of these little numbers is pretty and grab it just for fun! I absolutely lovethis Joanna August Polly Dress and this Tahari Sleeveless Brocade Dress. Lots of good options out there!
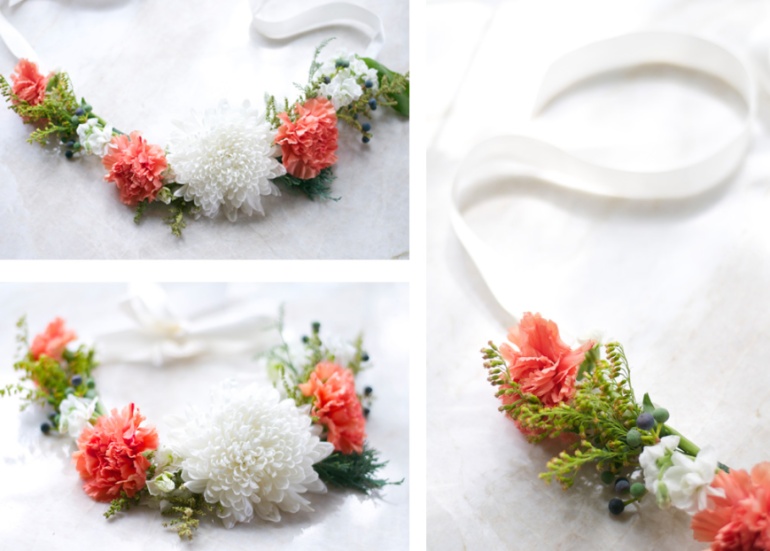
I seriously, seriously love floral crowns. They are perfect for weddings, wedding showers, maternity shoots, baby showers, newborn photos or just because! I have made suggestions on outfits with which you can style a beautiful floral crown at the bottom of this post.
Ever since I started my Floral Arranging 101 class, I’ve been motivated to create my own. I have read a number of DIYs (like this, this and this), and decided to give it a try! At first, I thought about doing a little one for Isla (she’s already worn this one in her newborn photos), but decided to do an adult-sized one and I’m so glad I did! I will admit that this DIY is perhaps not the most technical (as I use a hot glue gun, which would make many florists cringe!), but it works! Read the process below:
I went to the grocery store and picked up some cremones and carnations. Then I went to my front yard and cut down some foliage for fillers – you can also find these in the floral department of your local grocery store.
I cut all of the flowers so that they had 2-3 inch stems and then laid everything out on the island and placed it in the order I wanted for the crown.
I took an 18 gauge floral wire and bent one end about half an inch from the end and thread one of the carnations through – it is important to use a thick stem flower versus a piece of foliage at the end.
I then began to add the flowers and foliage by wrapping floral tape around the base and the floral gauge – laying the pieces along the length of the wire. When I got to a carnation or a cremone, I would take the wire through the stem of the flower versus the side layering technique.
Tip: As mentioned earlier, I also used a hot glue gun to secure some of the floral tape to the wire, and in some instances, to glue the bushy leaves to the wire.
When I finished filling the floral wire with flowers, I cut two pieces of cream ribbon 7 inches in length. Put a dot of hot glue on one end of each strand of ribbon and secure it to the end of the wire. Once the glue is dried, you can put it on your head and tie a bow at the back!
You can extend the life of your crown significantly by storing it in a drawer in your refrigerator. Mine lasted four days, then some of the flowers started to wither. Make sure you start the process with the freshest florals you can find.
Arrange all flowers in the order you’d like them on the crown, then thread them through the floral wire (steps 3-5 above)
Add the ribbon to the ends and tie, then voilà… a beautiful floral crown!
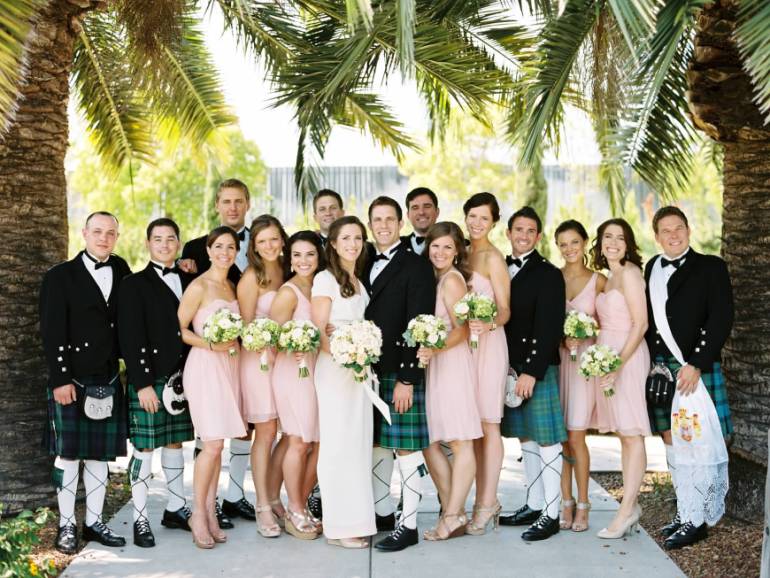
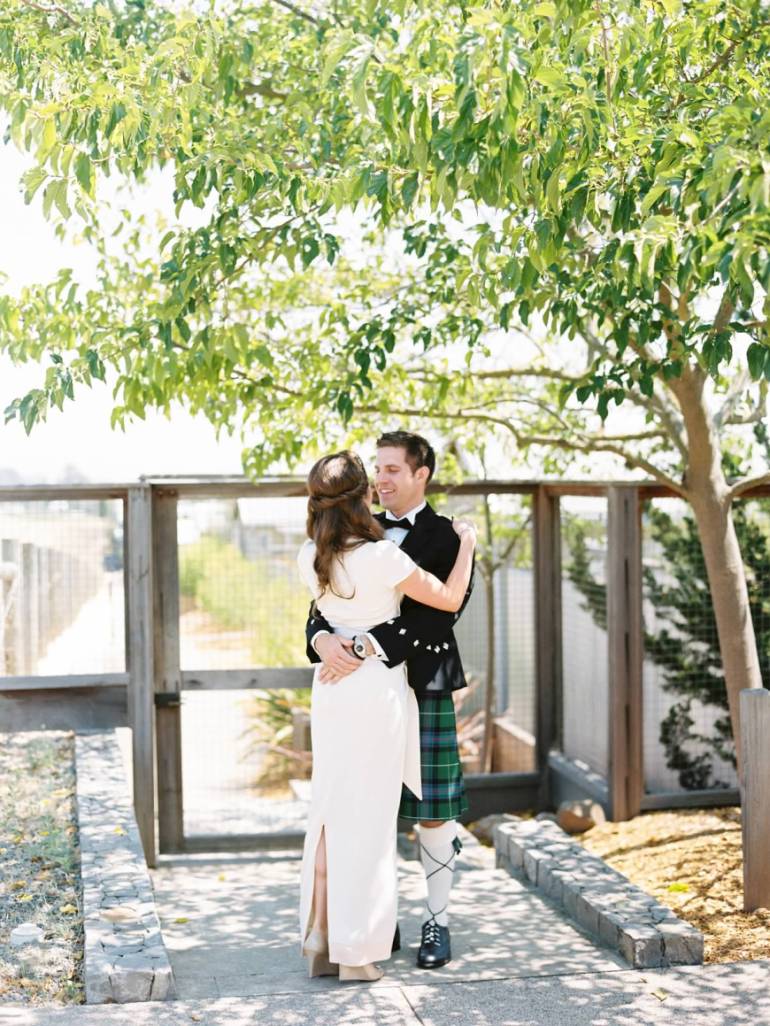
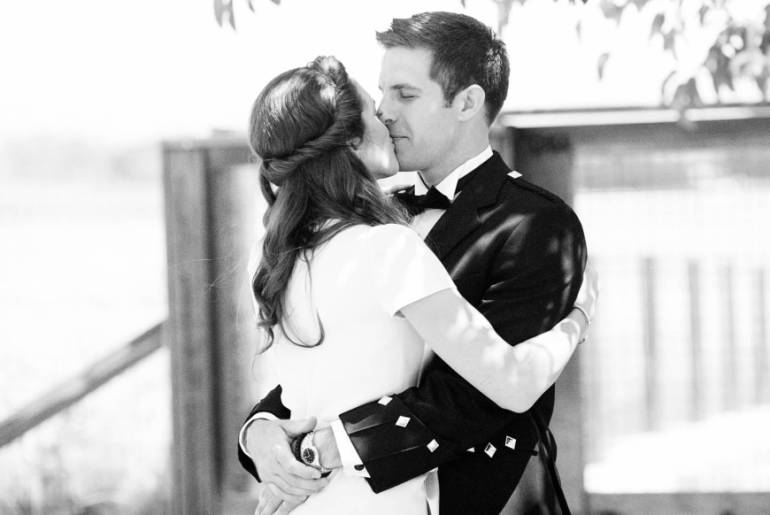
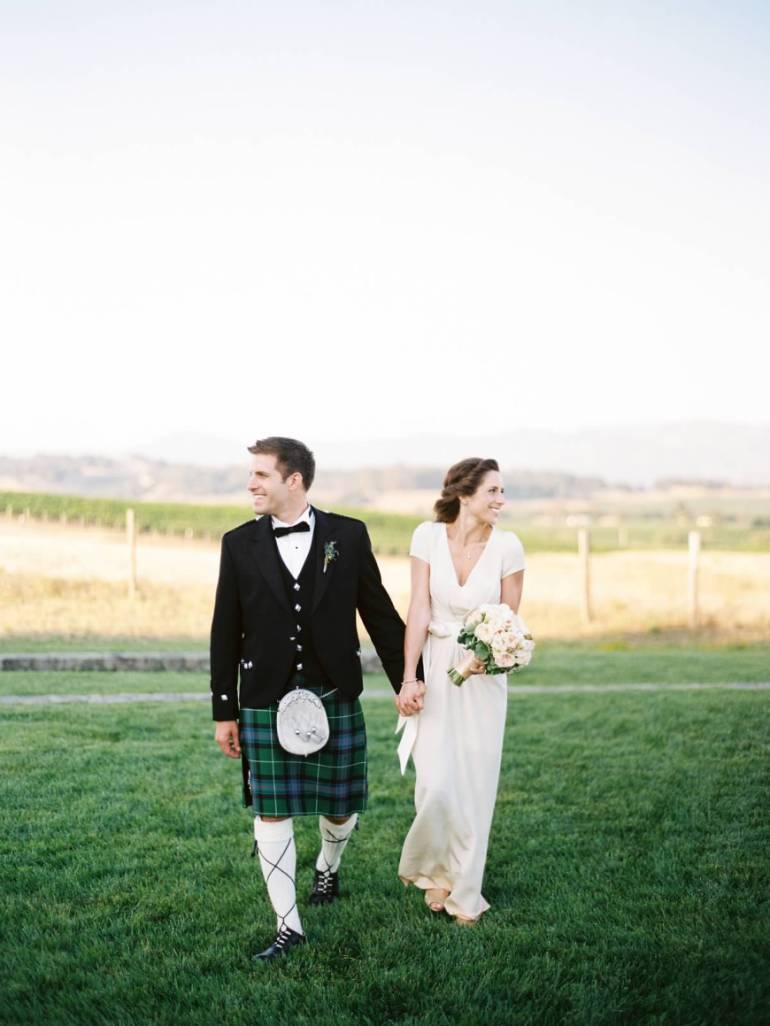
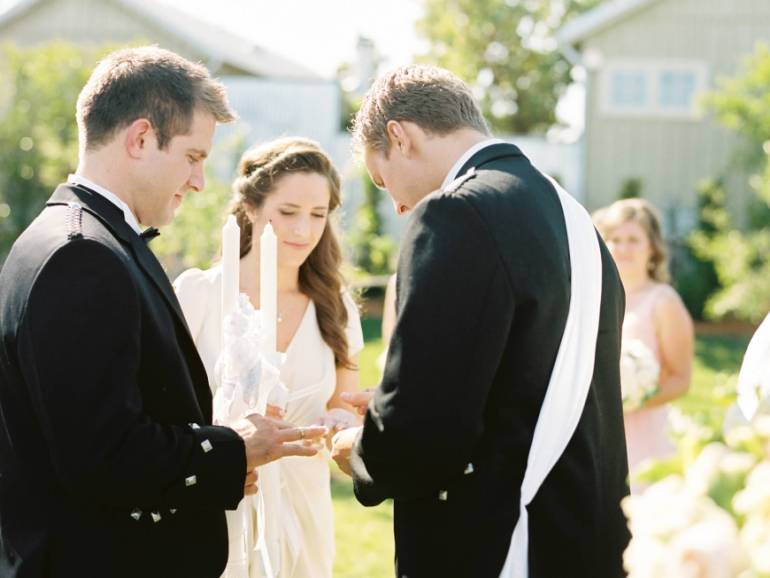
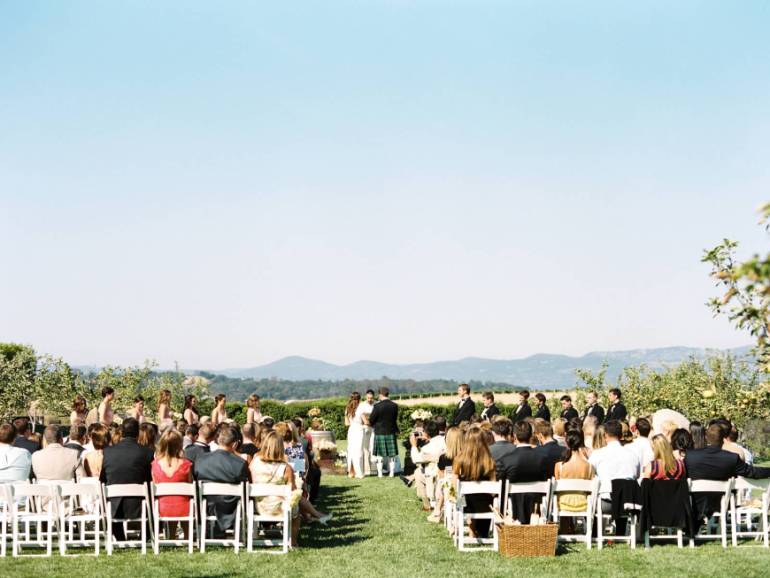
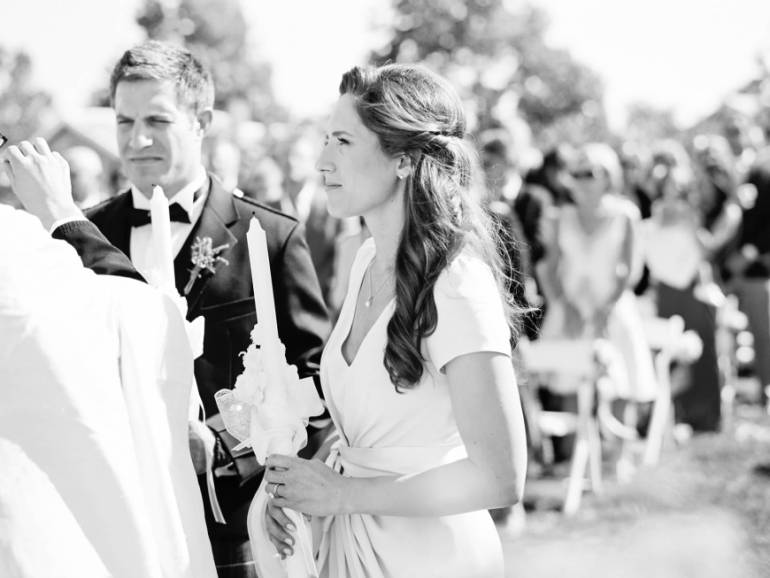
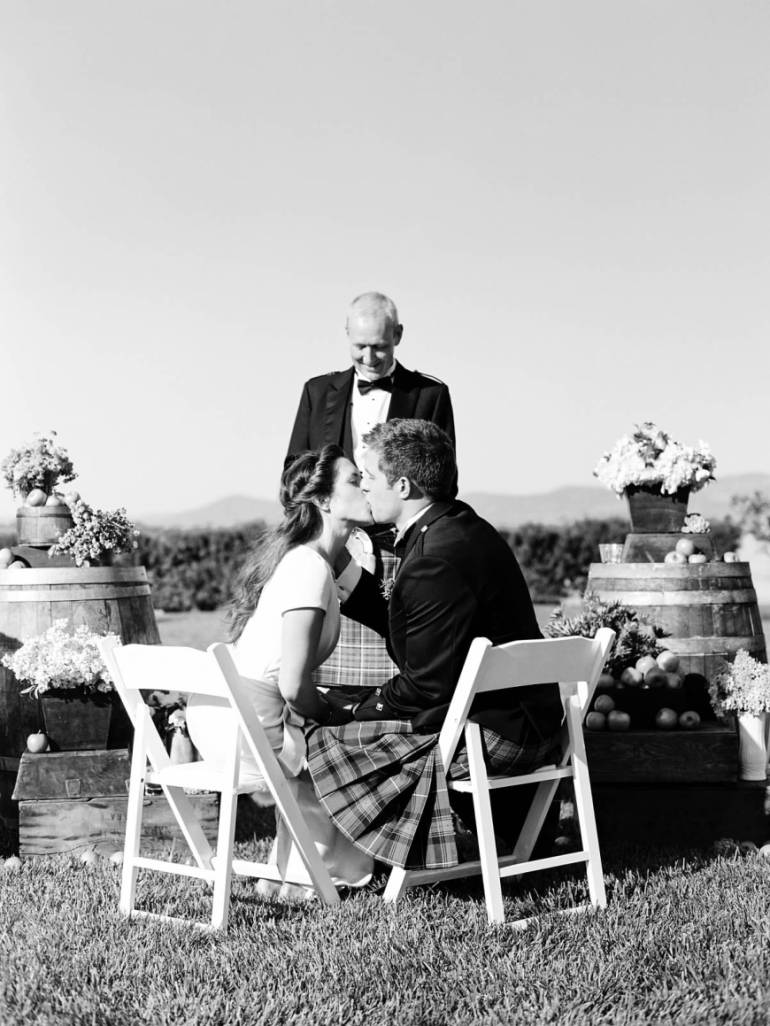
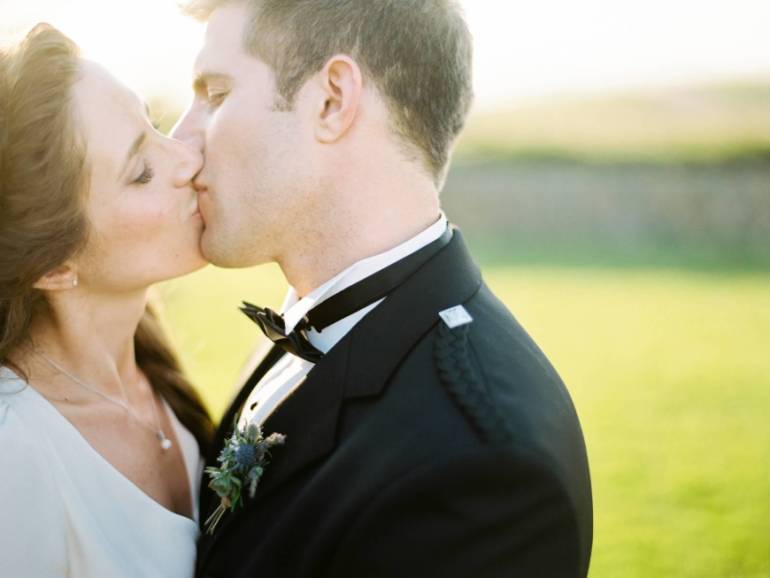
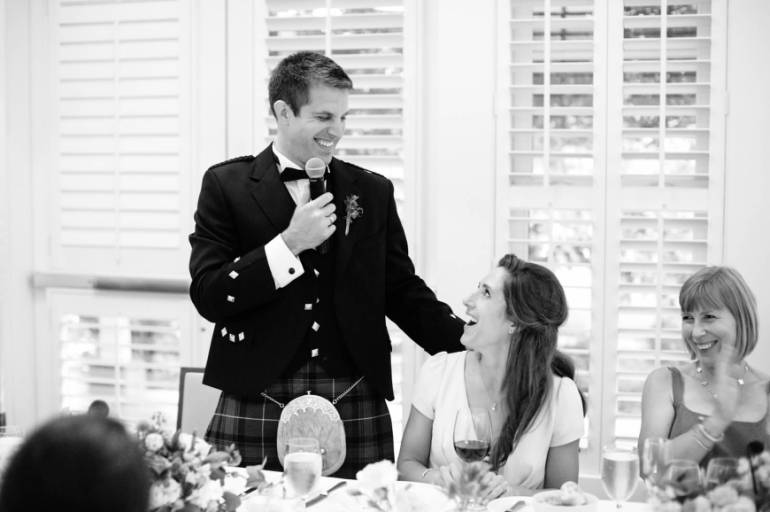
Today is our one year wedding anniversary, and what a year it has been! Since getting married last July 19 at The Carneros Inn in Napa, California, we have gone to Durango twice (still here), went to the Justin Timberlake/Jay Z concert in Miami, visited friends in Minneapolis, went to Bali and Japan (briefly!) for our honeymoon, celebrated two of our best friend’s engagements and two of our closest friend’s weddings, welcomed multiple sweet babies into the world, and last, but definitely not least, had a baby girl of our own! We are very excited about what year two has in store for us.
Happy Monday, everyone! We survived our first weekend at home, and Isla is finally getting better sleep at night (she’s be an owl to day). We both slept 7 hours last night which is record since Wednesday. I’ve had some time to browse the internet in my many, many hours spent breastfeeding, and below are a few of my favorite recent finds! Enjoy reading and have a wonderful week!
These colorful May Designs books are perfect for journals and even have a baby diaper/feeding diary version which has been our lifesaver
I want the entire outfit that Rachel wore in this post
I finished reading The One and Only by Emily Giffin the day before Isla arrived – it has a slightly weird plot twist, but I liked it for the most part – easy reading!
Any other recent reads that you’ve bookmarked? Any reading appreciated! xo

 I think it would be impossible for me to envy Phuong Nguyen’s talents more than I already do. This post took me ages and ages to write, because every reference link she sent me, I gazed longingly at every detail of the photos. Phuong is the owner of Mibellarosa Designs, a design studio based in Houston, specializing in (exceptional beautiful!) event planning and floral designs. I first worked with Phuong on a Valentine’s shoot I did with Destiny, and the florals she created were unbelievable.