Category

Food

Category

Healthy Vegan Banana Nut Bread

I’ve been playing around with vegan recipes for ages now, trying to bake healthy snacks that actually taste good. I’ve attempted to create a healthy version of Sasha’s favorite dessert – banana nut bread. After many failed tries, I baked a delicious loaf that is vegan, gluten-free and refined sugar-free. And yes, it tastes amazing! I have made it successfully three times now – twice with a loaf pan and once with a muffin tray. Sasha and I both agreed that the muffins were the most moist, but both are good.

DSC_0501I highly recommend this banana nut bread if you’re tagged for bringing a dessert to a party or even if you’re hosting one yourself. This dish works for breakfast, lunch or dinner. Sasha loves to top it with his favorite jam – Bonne Maman Raspberry Preserves, and I love it plain.

St-Germain French 75 Cocktail Recipe

It is no secret that I love St-Germain liqueur. It was the ‘her’ drink at our wedding (see menu below), and I missed it a lot during my pregnancy. Now that I’m breastfeeding, I can only have it in small amounts, which is why I made this delicious French 75 recipe in a champagne flute-proportion (also because it’s pretty with the garnish!). If you’re also breastfeeding, I highly recommend these Milkscreen Alcohol Detection Strips!

McKenzie and I used to go to my favorite bar in Houston, Anvil, when we lived together and always ordered French 75s. They were amazing (and strong!). It was made with champagne, lemon juice, simple syrup and gin. Instead of using simple syrup to sweeten it, I decided to use lemon flavored La Croix, as there is no sugar in the drink (healthy perk!). I decided to mix a little St-Germain into the recipe and ohmygosh, yes. It works. It’s delicious, and I highly recommend that you try it.

sasha_ailee_wedding_418

Ingredients

  • 1 1/2 ounces Prosecco, Brut champagne, or dry sparkling wine
  • 1 1/2 ounces St-Germain
  • 2 ounces Lemon La Croix
  • 1/2 ounce gin (I recommend Hendrick’s Gin)
  • Lemon twist, for garnish
  • Ice cubes (if you like it cold)

French751

French753

French752

Sweet Summery Guacamole Recipe

I am an avocado fanatic – I could eat them all day long, so naturally, I love guacamole. The local grocery store in Durango recently had a sale on avocados – 10 for $10, which is a steal. We bought 10 and then realized they would go bad before we managed to eat them all, as we’ve been adventuring to different restaurants for dinner in the evening. I decided to make my signature guacamole dish, which is sweet and salty, given that I use Robert’s Reserve Roasted Red Pepper and Onion Dip and sea salt. This dip is very summery, given it’s slight sweetness. Depending on whom I am making the guacamole for, I’ll add cilantro to the top or jalapeños – enjoy with Stacy’s pita chips (Sasha’s favorite), or celery and carrots if you’re being healthy like I am right now!

Ingredients

  • 2 tablespoons of Robert’s Reserve Roasted Red Pepper and Onion Dip
  • 3 ripe avocados
  • 2 garlic cloves
  • 1 teaspoon of sea salt
  • 1/8 cup of red onions
  • 1 teaspoon of lemon juice
  • 1 jalapeño pepper (optional garnish)
  • Handful of chopped cilantro (optional garnish)

Steps

  1. Finely chop 2 garlic cloves and 1/8 cup of red onions and add to mixing bowl
  2. Add 2 tablesppons of the roasted pepper and onion dip (in most grocery stores in a stand alone section near the deli)
  3. Add 1 teaspoon of lemon juice to the bowl and mix
  4. Add 1 teaspoon of sea salt to the bowl – keep out in case you want to add more later
  5. Pit and add three avocados to the bowl – ideal to use a mortar and pestle (I love this Le Creuset one!)
  6. Mix well and add additional salt if desired

guacamole1

DSC_0808

guacamole2

DSC_0839

Sutcliffe Vineyards

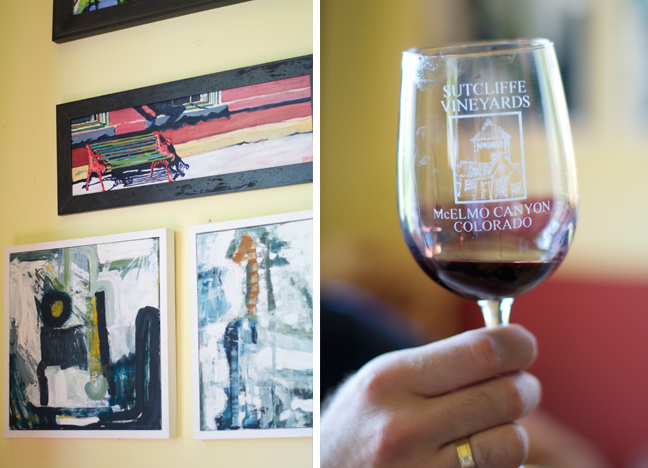
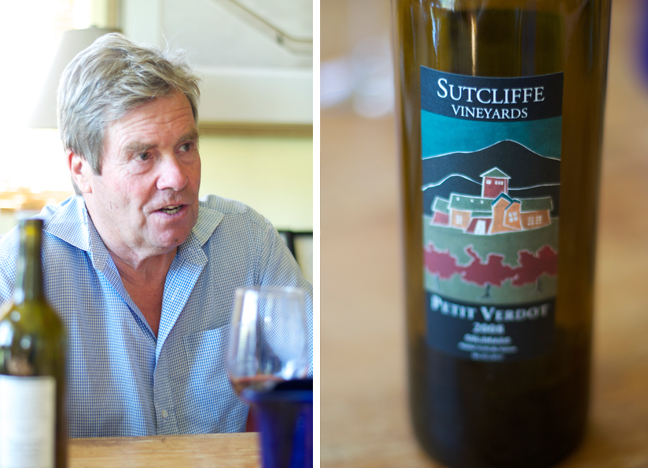
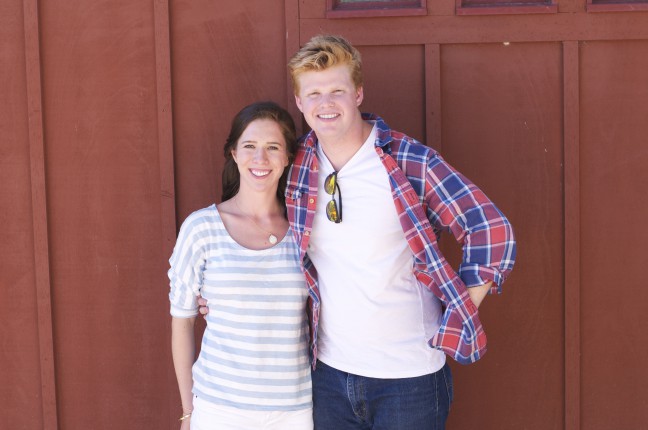
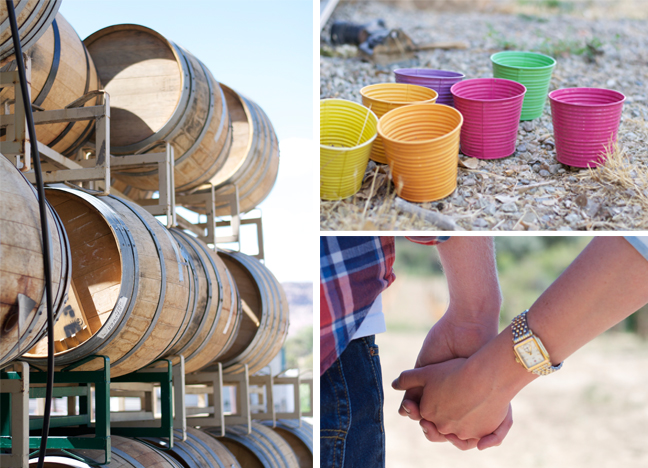
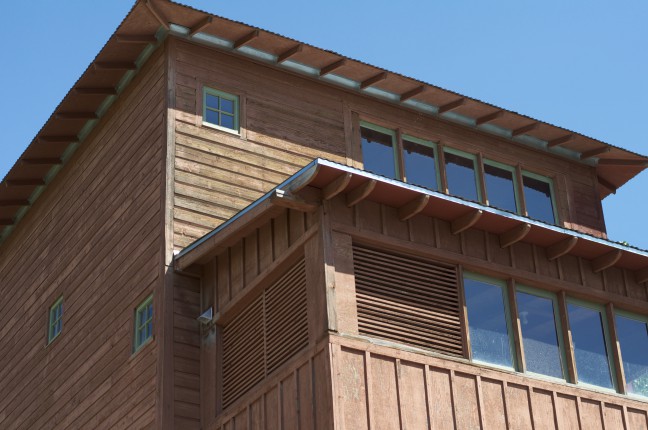
On Saturday, we packed up two cars (Sasha’s mom, her friend, my sister and her boyfriend were visiting) and headed to Cortez, Colorado to visit Sutcliffe Vineyards. My parents are friends with the owner, John Sutcliffe, who is definitely the most interesting man alive. Sasha and I met John for the first time a few weeks ago when he came over for dinner, and he invited us to visit the vineyard for a private tasting and we took him up on the offer. The hour and a half drive was over rolling hills, next to spectacular mountains – everywhere you looked, there was a photo opportunity. Unfortunately, Sasha was driving, so we didn’t stop once! The vineyard is centered around a tall, red tower which you’ll see on the wine labels. The fields and fields of grapes are uncharacteristic of the dry, mountainous views next to it. The wine is phenomenal – my favorite is the Petit Verdot, which you can purchase online. Isla was extremely well-behaved during the trip, except for the 5 minutes when she was hungry and refused a bottle that I had pumped earlier! We need to work on that (although I selfishly don’t mind just feeding her myself!). My favorite part of the trip was not the amazing wine, nor the gorgeous scenery, but John’s fascinating stories. The man refuses to not pick up a hitch hiker (plenty of good stories to accompany that), he rattles off detailed accounts of his eccentric Uncle Percy who lived in England and wore WWII soldier apparel around town although he did not go to war,  and tells the story about the vineyard’s conception being that his architect told him grape leaves would make for a good view out of his dining room window. I mean, really? If you’re ever in the Telluride or Durango area, I highly recommend visiting Sutcliffe Vineyards and meeting John. You and your taste buds won’t regret it!

DSC_0409

Sutcliffe4

DSC_0415

Sutcliffe3

DSC_0438

Sutcliffe2

DSC_0487

Sutcliffe1

DSC_0440

Vegan Black Bean Brownies + The New York Baking Company

Ever since my vegan chocolate beet muffin success, I’ve felt a little braver in the baking department. Rizzi from The New York Baking Company (Facebook page) asked me to review their brightly colored silicone baking cups, which you can buy on Amazon here. After doing some research, I decided to try baking vegan, gluten-free black bean brownies. I found a number of different recipes online, and adapted them to make our own unique blend (mainly adapted from The Minimalist Baker’s recipe here). Sasha and I devored them within minutes – they are that good (and we’ve made them multiple times in the past week!). Did I mention they are flourless and have no dairy products? It’s definitely seems too good to be true. I have included photos and the recipe below – I highly recommend you make these if you’re trying to satisfy a sweet tooth. 

The baking cups worked like a charm. They cost $9.95 and are worth every penny. Not only are these colorful cups BPA free, they are easy to clean – just rinse them and pop them into the dishwasher. The cupcakes came right (without any difficulty!) and into our mouths. Delicious! If you enjoy baking but hate peeling cupcakes, brownies, and muffins out of wrappers, I highly recommend you buy these cups.

Ingredients

  • 1 can black beans
  • 2.5 tablespoons flaxseed meal + 6 tablespoons water to create a flaxseed ‘egg’
  • 3 tablespoons of melted coconut oil
  • 3/4 cup cocoa powder
  • 1/4 tsp sea salt
  • 1 tsp pure vanilla extract
  • 1/4 cup of Truvia sugar blend
  • 1 1/2 tsp baking powder
  • 1/2 bar of vegan, gluten free chocolate (I love this one!)

Steps

  1. Turn oven to 350 degrees in the bake setting
  2. Mix 2.5 tablespoons of your flaxseed meal with 6 tablespoons of water and set aside to settle
  3. Add together all of your dry ingredients (sea salt, cocoa powder, sugar blend, baking powder) and mix
  4. Add the melted coconut oil and vanilla extract and stir well
  5. Melt the chocolate in the microwave for 1 minute and add to the bowl
  6. Add your flax egg – the batter should be icing-like texture at this point
  7. In a separate bowl, add the drained, clean black beans and grind them until they are a soft, blended texture (you can do this in a blender or food processor, but my parents don’t have one in their house in Durango – it works easily by hand too)
  8. Add the ground beans to the batter and mix well
  9. Line your muffin tray with the baking cups and add the batter to each cup – these don’t rise much, so you don’t need to leave space
  10. I added some almond butter to the batter for the last few muffins for a little extra kick – delicious!
  11. Allow the brownies to bake for 20-25 minutes, or until the outside is slightly crispy, then wait until they cool off and enjoy!

DSC_0494

DSC_0508

blackbean1

DSC_0506

blackbean2

DSC_0539

DSC_0701

DSC_0704

DSC_0705

DSC_0708

Et voilà – the final product below!

DSC_0710

DSC_0712

DSC_0722

DSC_0733

One happy mouth


Recipe adapted from The Minimalist Baker

Baking cups provided by The New York Baking Company – all opinions are my own

Photos by me!